


Diaper cakes are a GREAT gift for new parents whether given at a baby shower or to greet the new arrival. First off, the gift of diapers is practical, they are definitely needed and will be used. Second, you can be really creative and personalize the diaper gift with colors and decorations. Lastly, it’s not that hard to do at home…it may appear to be some huge time consuming project that only the craftiest individuals can put together, but actually, it’s not hard at all! So, in the spirit of diaper cake-ing, here’s an easy how to make a (three layer) diaper cake!
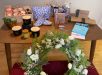
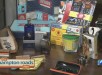
Items Needed:
- 40 Disposable Diaper – 40 disposable diapers (3 layers require 7, 13 and 20). **Find out and/or ask if the recipient has a diaper brand/style preference**
- 3 Receiving Blankets – if you use a 3 or 4 pack of coordinating patterned receiving blankets, it works great
- empty paper towel cardboard roll or extra receiving blanket
- 1 cake tray or piece of cardboard to serve as the base for the cake
- Pearl Pins, Rubber Bands, Ribbon, Toy (for cake topper) and any other decor items to personalize the diaper cake – like flowers, string of pearls, feather boa, small bath toys, etc…
 STEP 1:
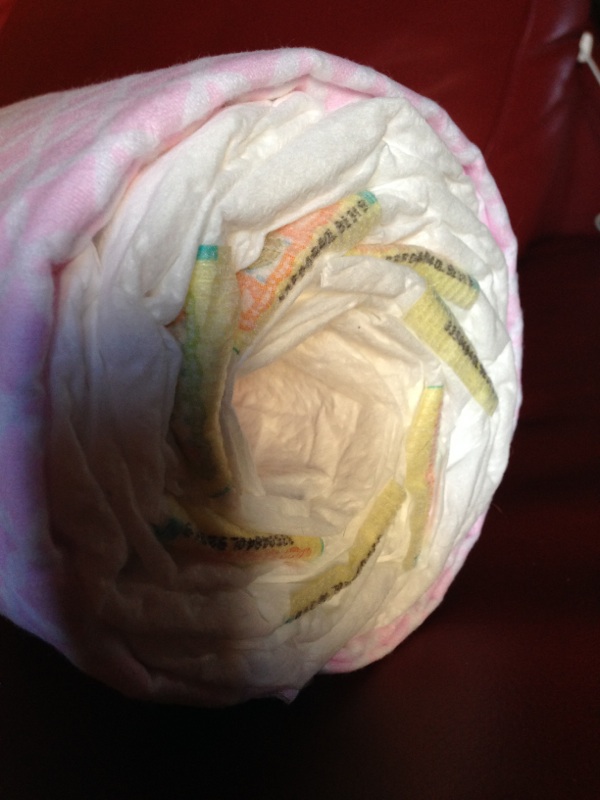
stack diapers and then slowly “fan” them out into a circular/round shape
Bottom layer >> 20 diapers
Middle layer >> 13 diapers
Top Layer >> 7 diapers
*tip – using a circular cake pan can help you get it into the desired shape
 STEP 2:
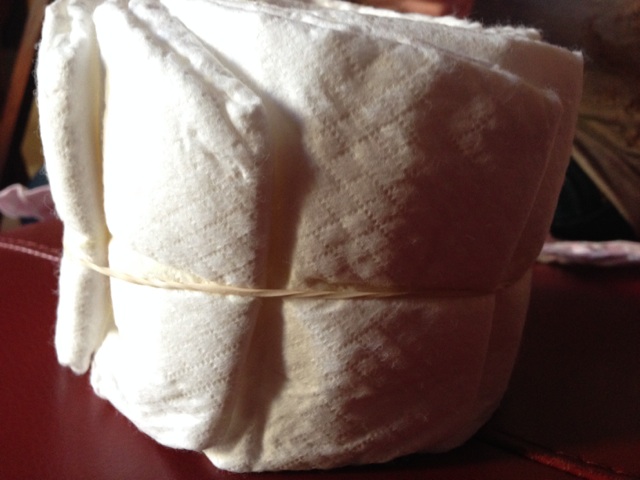
use a rubber band to keep diapers in place and hold shape
STEP 3:
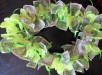
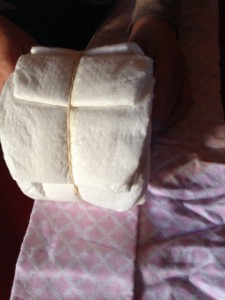
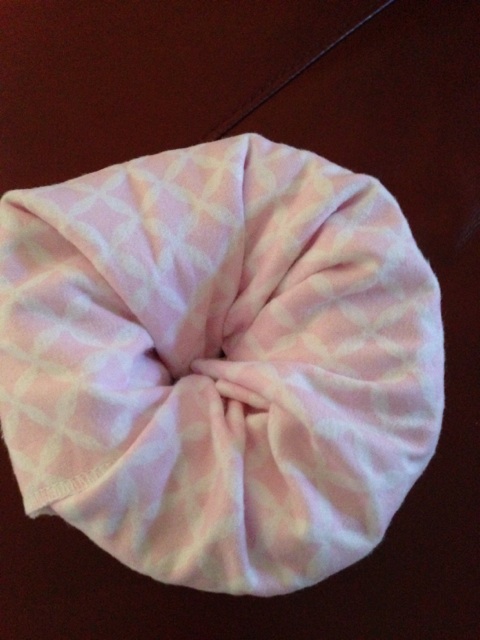
fold receiving blanket to be width or diaper layer, leaving some material excess to tuck in to center and cover the layer.
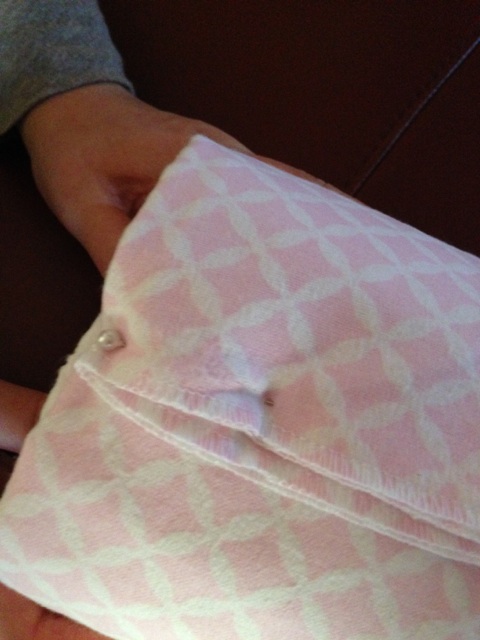
i sort of think of this as applying the “fondant” to the cake”roll diapers in receiving blanket, then secure material in place with a pearl pin
STEP 4:
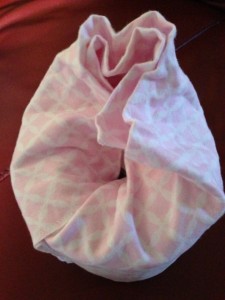
tuck excess receiving blanket material into center of diaper layer to cover the top
note: diapers will be exposed at bottom of the layer
STEP 5:
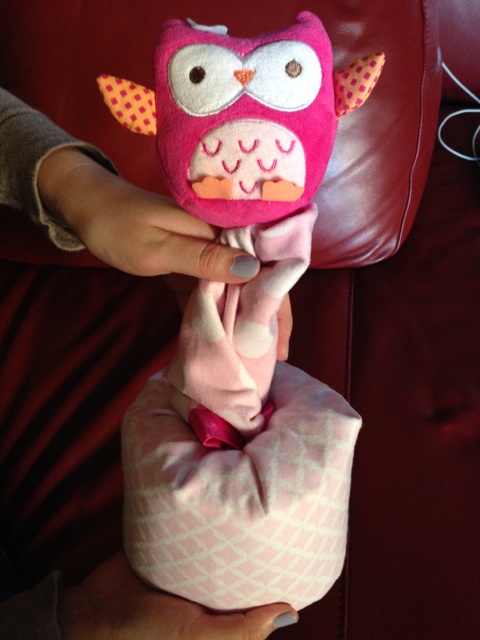
stack cake layers and insert (either or all) paper towel roll and/or rolled up extra receiving blanket into center of the 3 layers to adjoin them.
in this case (pictured) a security blanket/lovey was used as cake “topper” so blanket portion was also threaded through the center of the layers
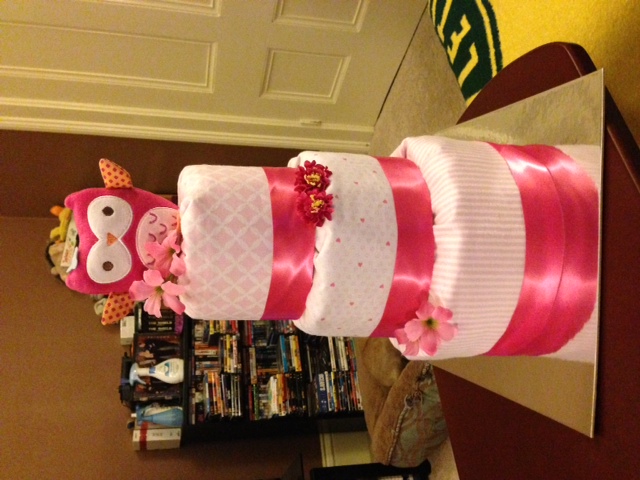
STEP 6:
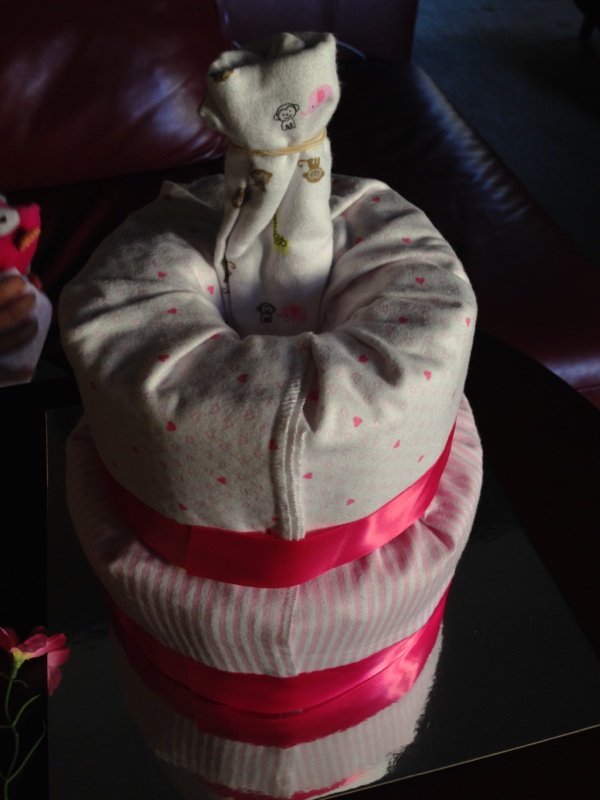
DECORATE! Use ribbon, trimming, flowers (fresh or fake) to really personalize your diaper cake and have fun with it!