

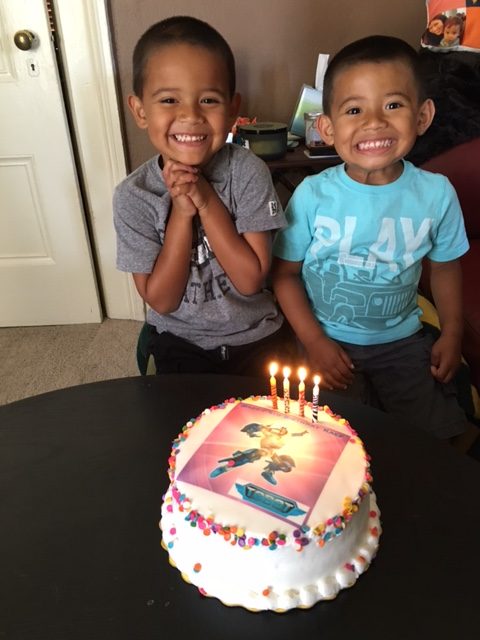
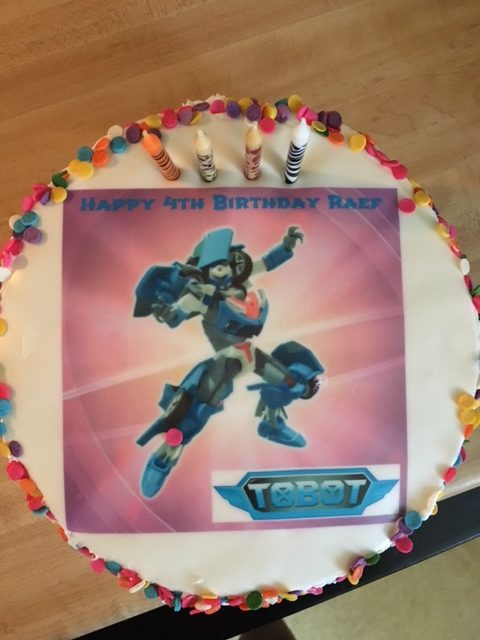
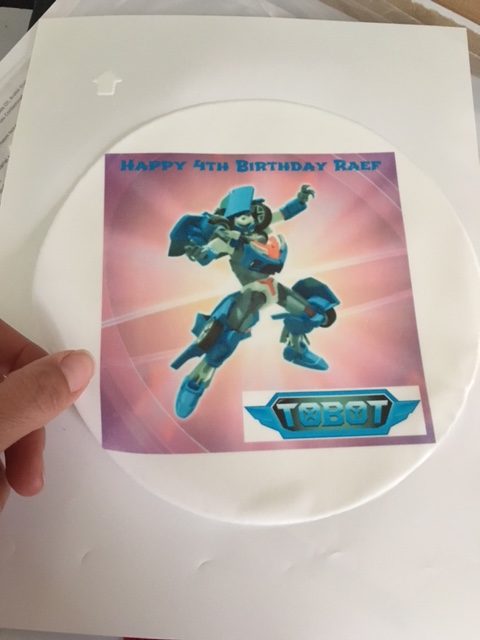
Since the countdown is on until my boys turn 4 and 5, I’m slowly getting into party planning mode and putting my planning hat on. I’m trying to kick back more this year and not really hyper-plan every detail. So, for now I’m reflecting on what we’ve done for past celebrations, and what they may want this time around, since it inevitably changes as they get older and become more outspoken. Well, last year on Raef’s actual birthday we did a small cake at home and the one thing he had been asking for was a TOBOT cake. What is Tobot you ask!? Well, Tobot is a Korean version of Transformers…based on KIA model vehicles! Raef discovered Tobot by watching the animated episodes on youtube (in Korean) and he really took a liking to it. Now, since Tobot’s not a big thing in the U.S. – the toys aren’t sold here (I’ve had to order toys online from Korea), it’s not a typical cake design character order at the local bakery. And, that’s what made me discover and try out a “do it yourself” edible photo cake topper.
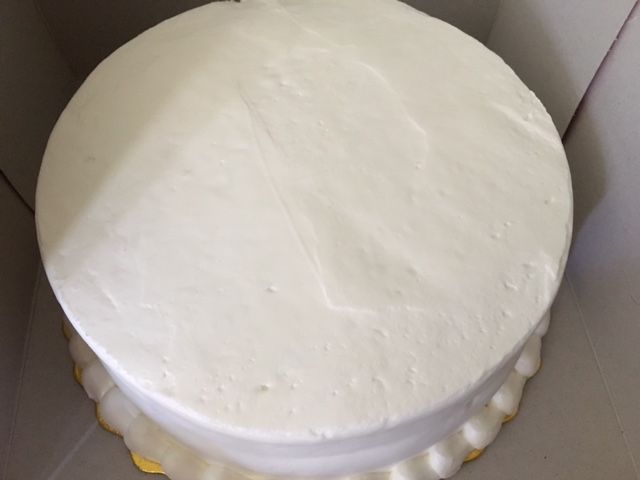
I found a few images online and created my own custom design using PicMonkey‘s online photo editor. Then, I found a place where I could order my custom cake topper on Amazon. It was super easy, I uploaded my image, they printed it out and sent it to me. There are very specific instructions on how to store it and apply it, but basically, you want to leave it in the plastic packaging until you’re ready to use it. The other thing you will need to get is a cake, which I ordered from my local grocery store bakery, where I requested a smooth buttercream frosting. on an 8″ round. You can order different size photo cake toppers, so those are details you should consider before ordering the image. What I also discovered after the fact, was that I could also have just ordered the image directly through my local grocery store bakery too and they would have applied it.
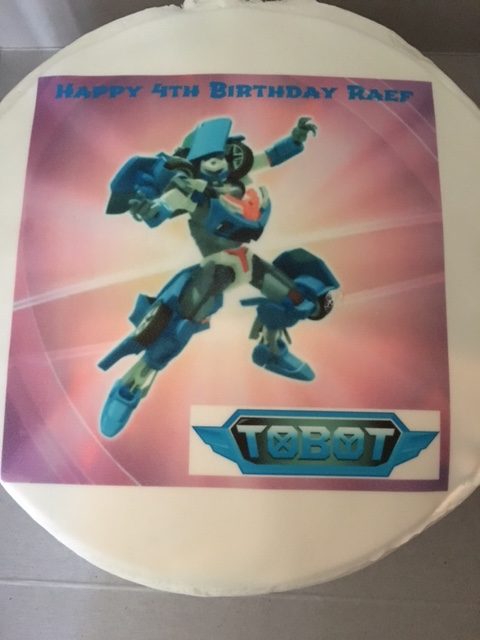
Anyway, it was pretty simple, I followed the instructions and took great care to peel it off its backing and slowly center and apply to my cake. You want to be careful not to let it dry out and you also don’t want any bumps as you smooth it down. Once you get it in place, you let it set and voila, you have your custom cake. My bakery was also nice enough to give me a small bag of sprinkles to add a little more color to it after I added the image. Anyway, it certainly put a smile on his face and I was glad to be able to give him his Tobot cake!